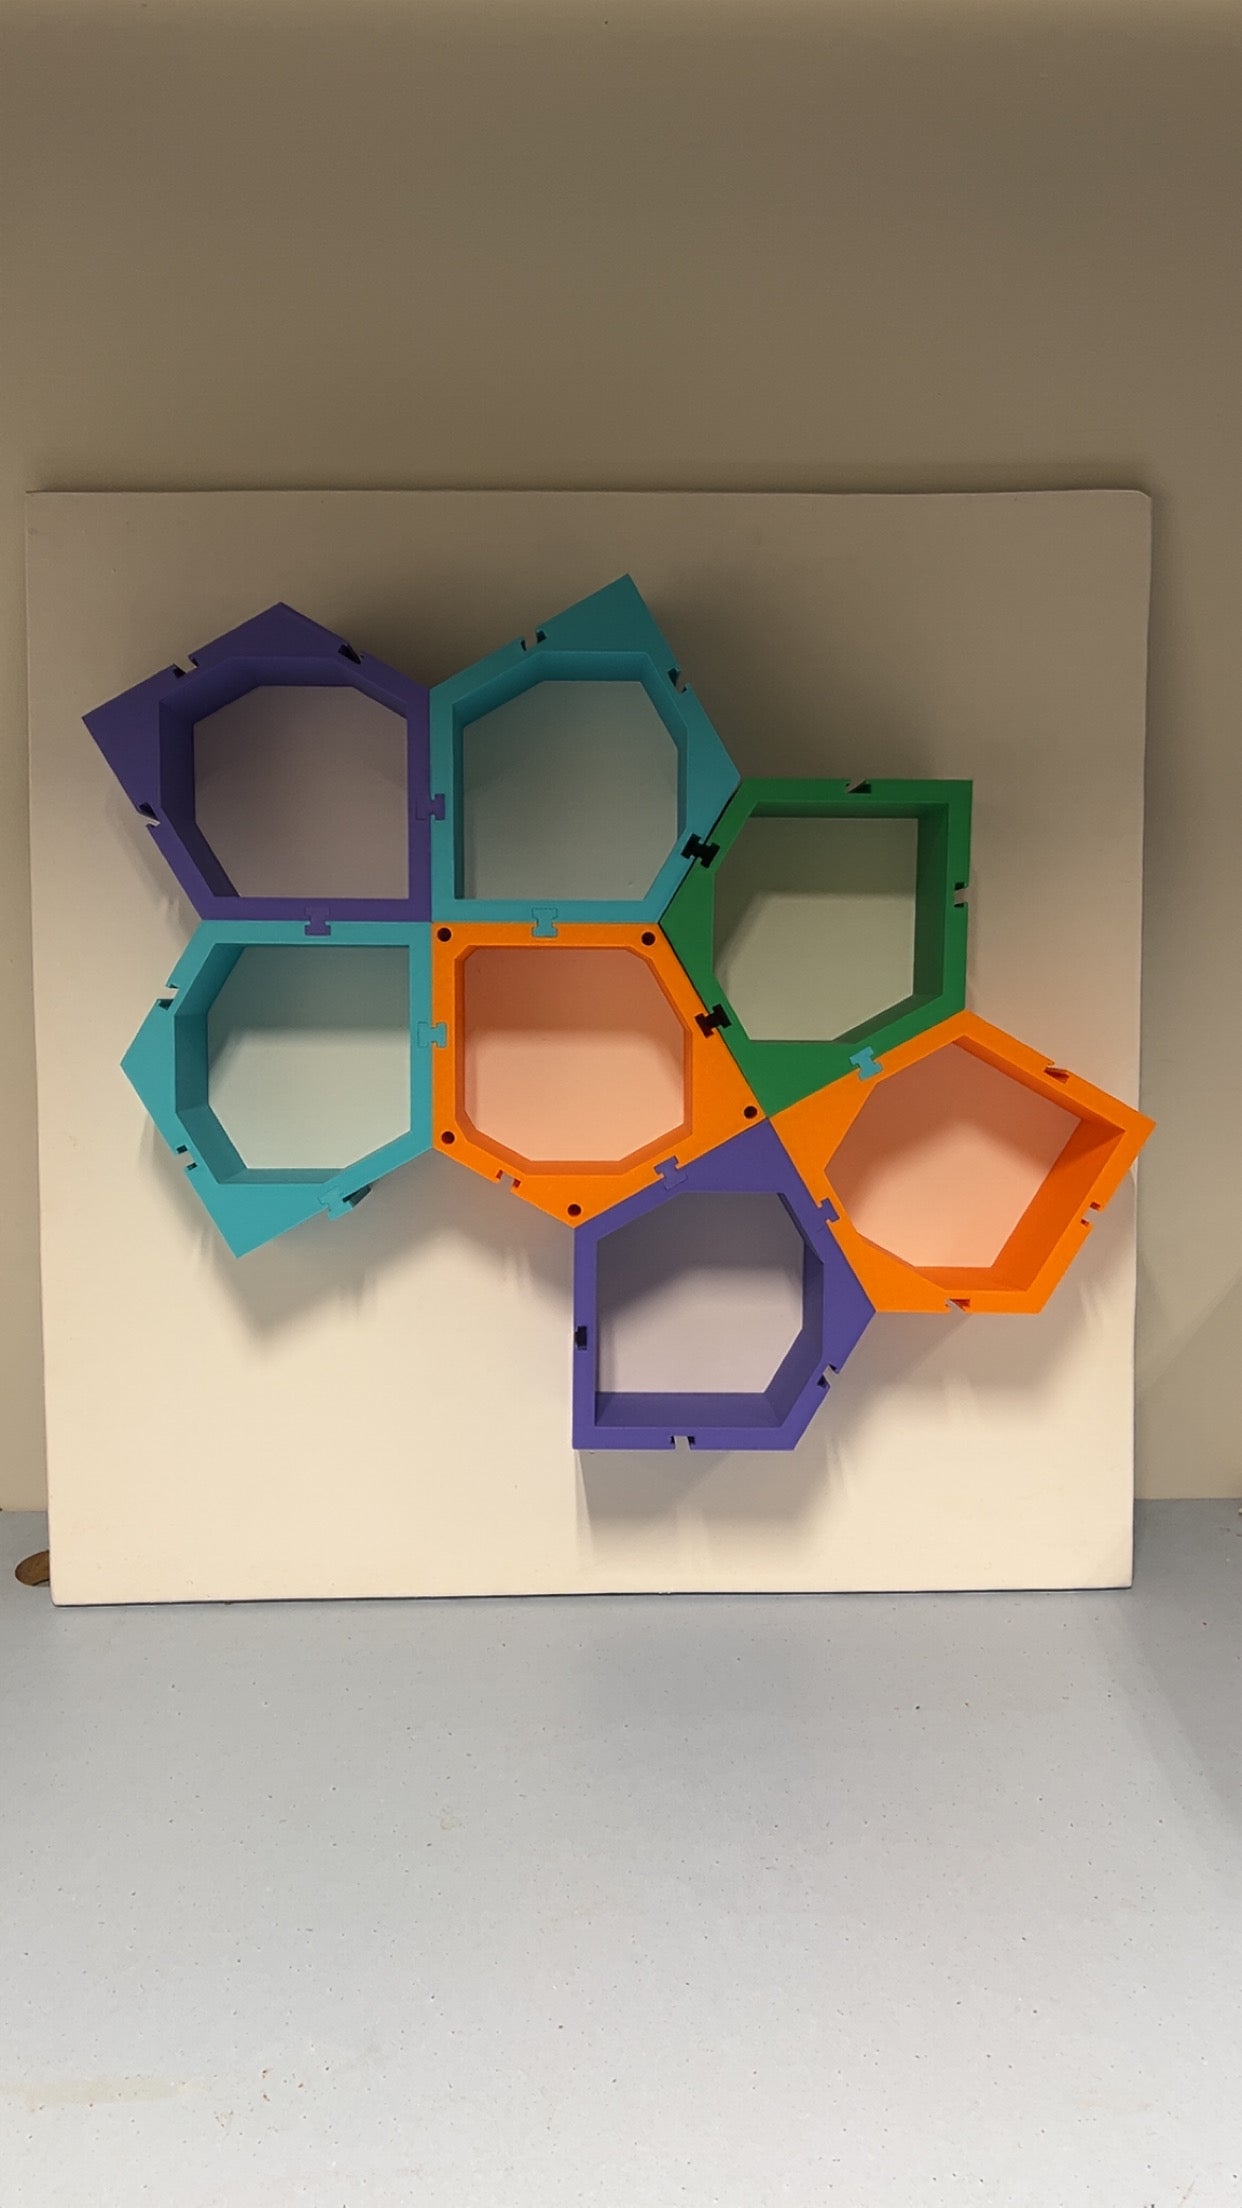
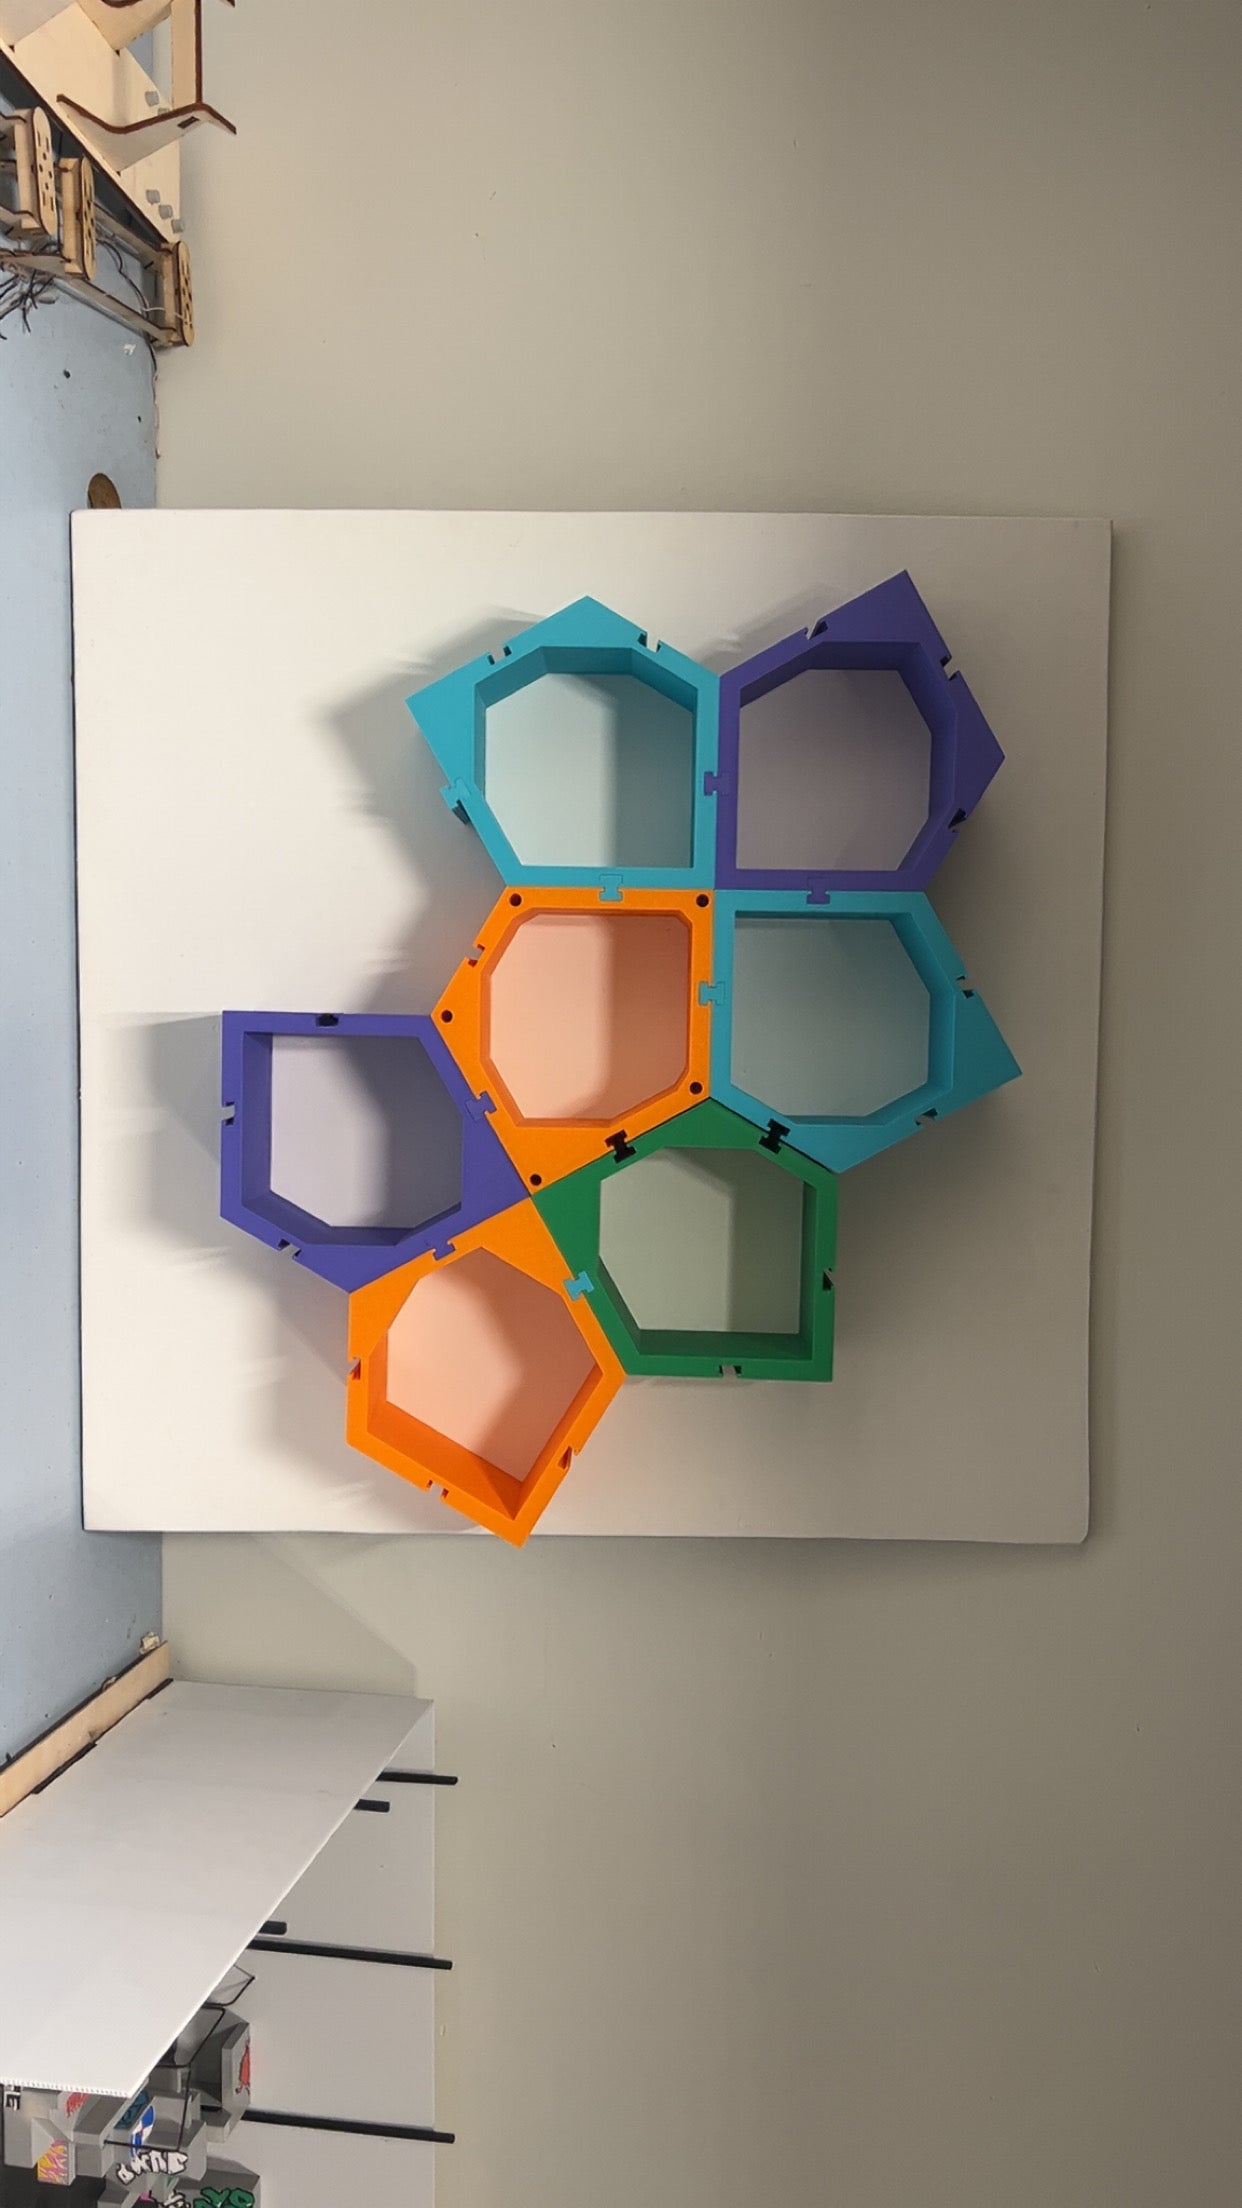
MyModularUnit
Discover a storage solution that evolves with you. MyModularUnits is a fully customizable and adaptable storage system designed to fit any space, from modern apartments to creative work areas. Each unit can be easily reconfigured, stacked, or expanded to suit your lifestyle, giving you complete control over organization and design.
Crafted with durability and sustainability in mind, these modular units are made to last while reducing clutter and waste. Whether you’re looking to maximize functionality, enhance aesthetics, or create a unique layout, MyModularUnits offers endless possibilities limited only by your imagination.
MyModularUnits gives you complete freedom to design and customize your own storage layout. Each unit is designed for easy 3D printing and can be arranged in countless configurations to fit your space and needs.
Explore modular storage units – Download and print the core building blocks of your system.
Download the files for the middle module (the one attached to the wall)
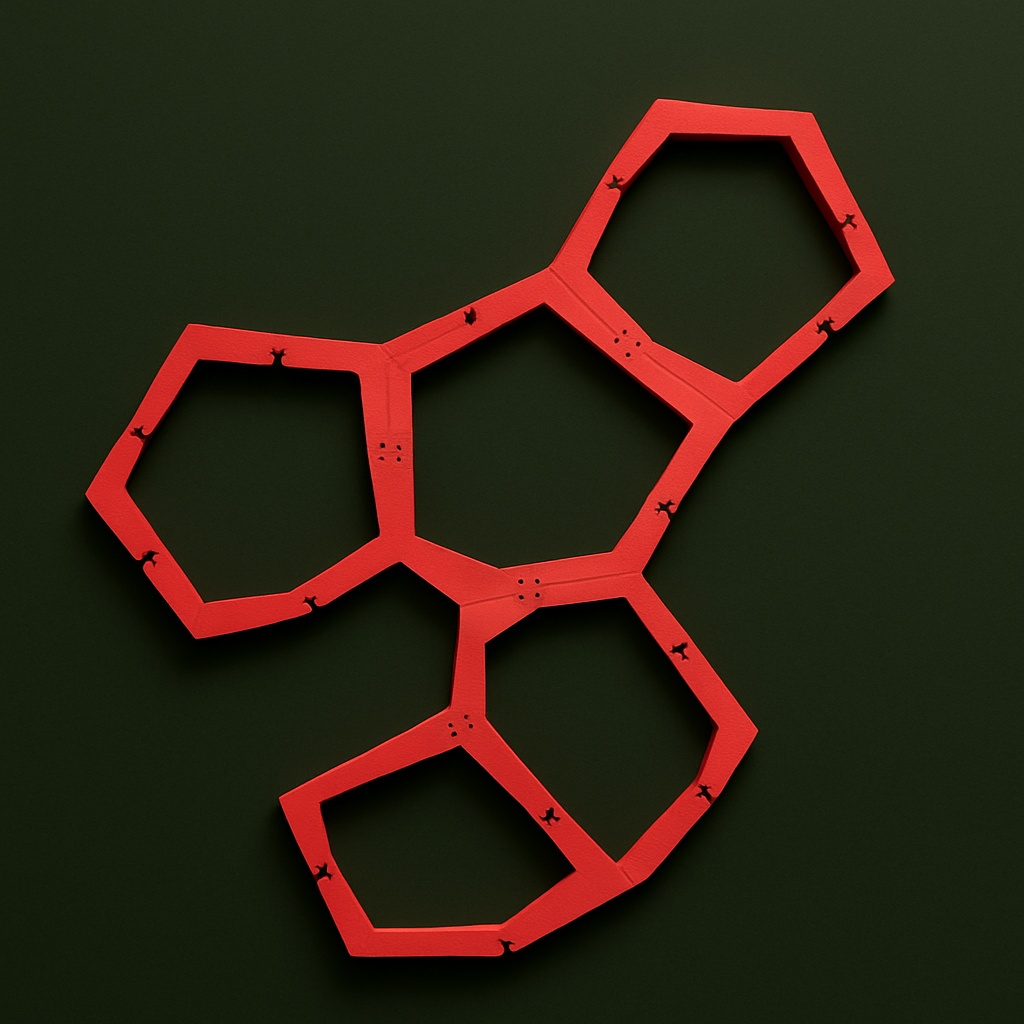
To ensure your units stay secure and stable, we’ve created interlocking plugs that seamlessly connect each module.
Get the connector plugs – Keep your storage system strong and perfectly aligned.
Download Instructions
Step 1: Download the Files
-
Download the STL files for the modular storage system.
-
Open the files in a slicer program like Cura, PrusaSlicer, or Bambu Studio (this software tells your printer how to print the object).
Step 2: Use the Right Settings
- Set the right printer settings for you desired need ( check printing guidelines page if confused)
Step 3: Set up filament
- Use the filament for your desired needs ( check printing guidelines page if confused)
Step 4: Prepare the Printer
-
Make sure your bed is levelled (some printers do this automatically).
-
Preheat your printer to 200°C for the nozzle and 60°C for the bed (typical for PLA).
-
Load your filament and check that plastic is flowing smoothly.
Step 5: Start the Print
-
Click print in your slicer program and let the printer start.
-
Watch the first layer – if it’s sticking properly, you’re good to go! If not, pause, adjust the bed, and try again.
Step 6: After Printing
-
Let the print cool down before removing it.
-
If there are rough edges, use a bit of sandpaper to smooth them.